Let's learn how to make olives at home! It's really simple. All you need is fresh olives, water, salt, and a bit of patience. Make our simple olive brine recipe, let the olives sit in it and enjoy them all year round. Trust us, homemade olives taste way better than the ones from the store.
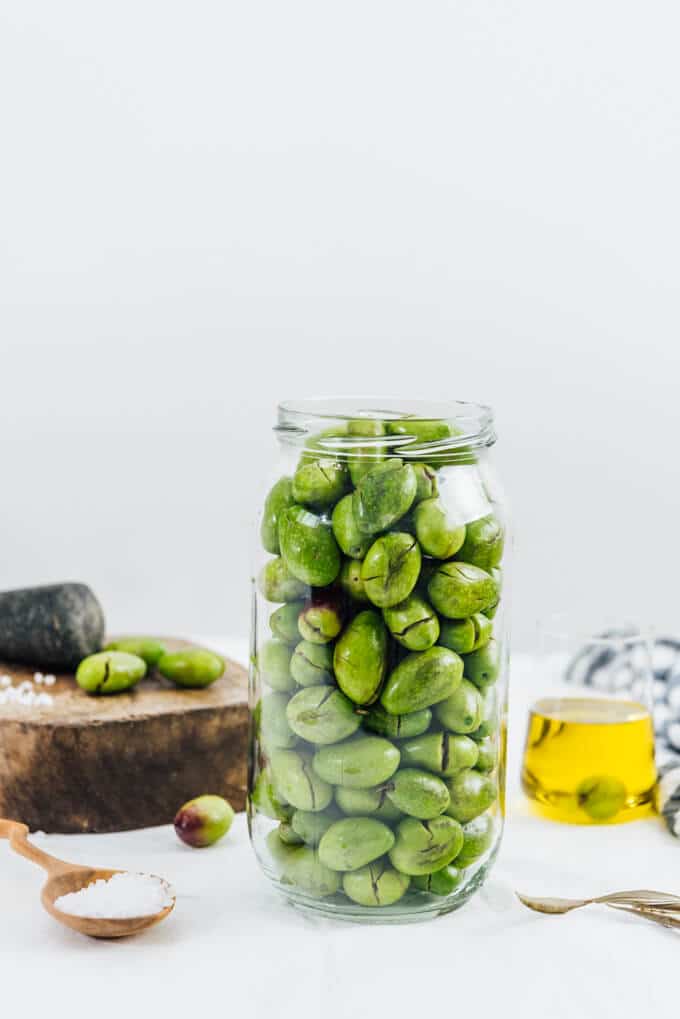
Although olives are considered as breakfast food in Turkey, we love to snack on them between meals too. Just like the Greek do.
That’s why we were so excited when we saw the first products of the year at our local market last week. We bought about 10 pounds (about 4.5 kilos) and started brining them. We can’t wait to taste the brined olives once their bitterness goes away!
Curing green olives is one of our preparations for winter, just like making tomato paste or pickling.
If you don't know how to preserve olives, you might feel intimidated. Don't worry! It is not as hard as you think. In this post, we will share our simple olive brine recipe and you will see how easy it is. You just need some patience because you need to wait more than 10 days. We promise, it’s worth every single day.
Olives in Turkish Culture
Have you ever heard about Turkish breakfast? Olives are a staple for us in the morning in addition to lots of other foods like cheese, sliced tomatoes and cucumbers, eggs, pastries, jam, honey, butter and several other foods.
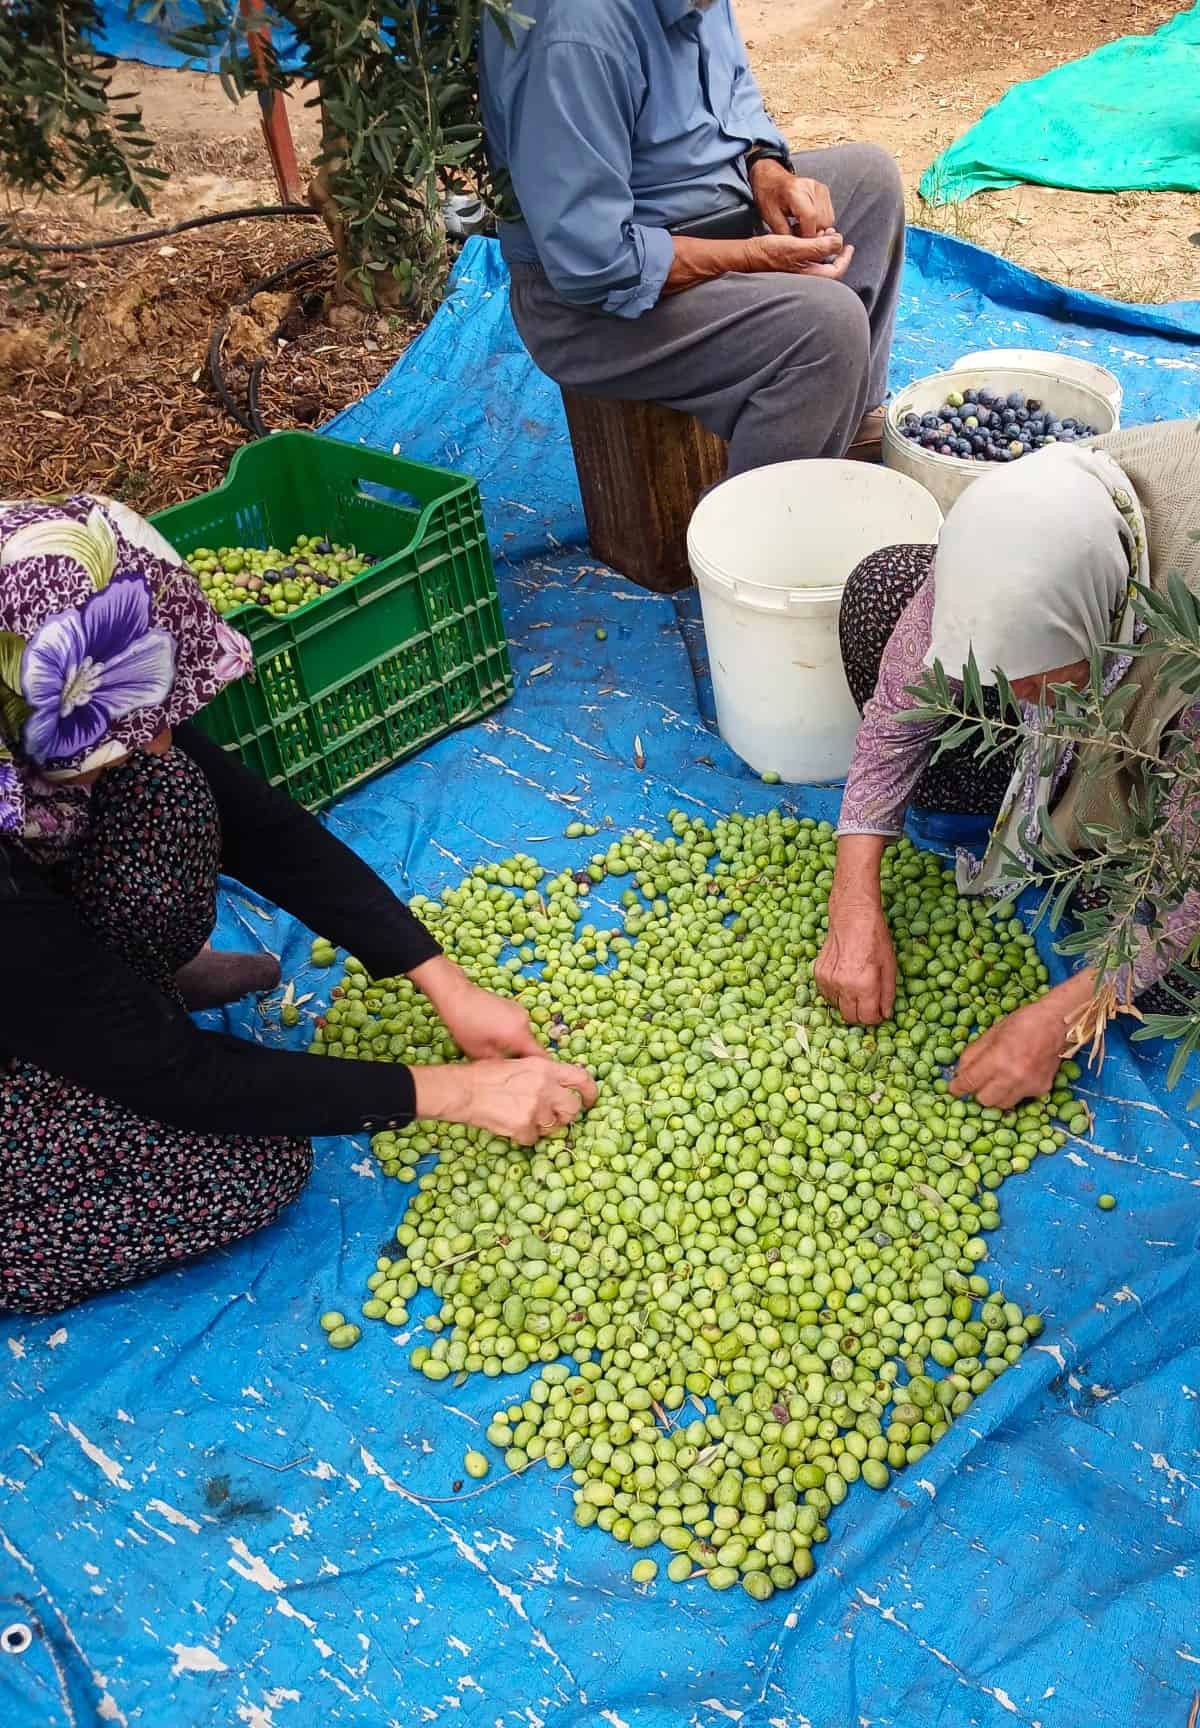
In Turkey, especially in the south and west, olive harvest is a big deal. You see huge fields of olive trees in these regions of the country. When fall comes (especially in October and November), families gather to pick olives from trees.
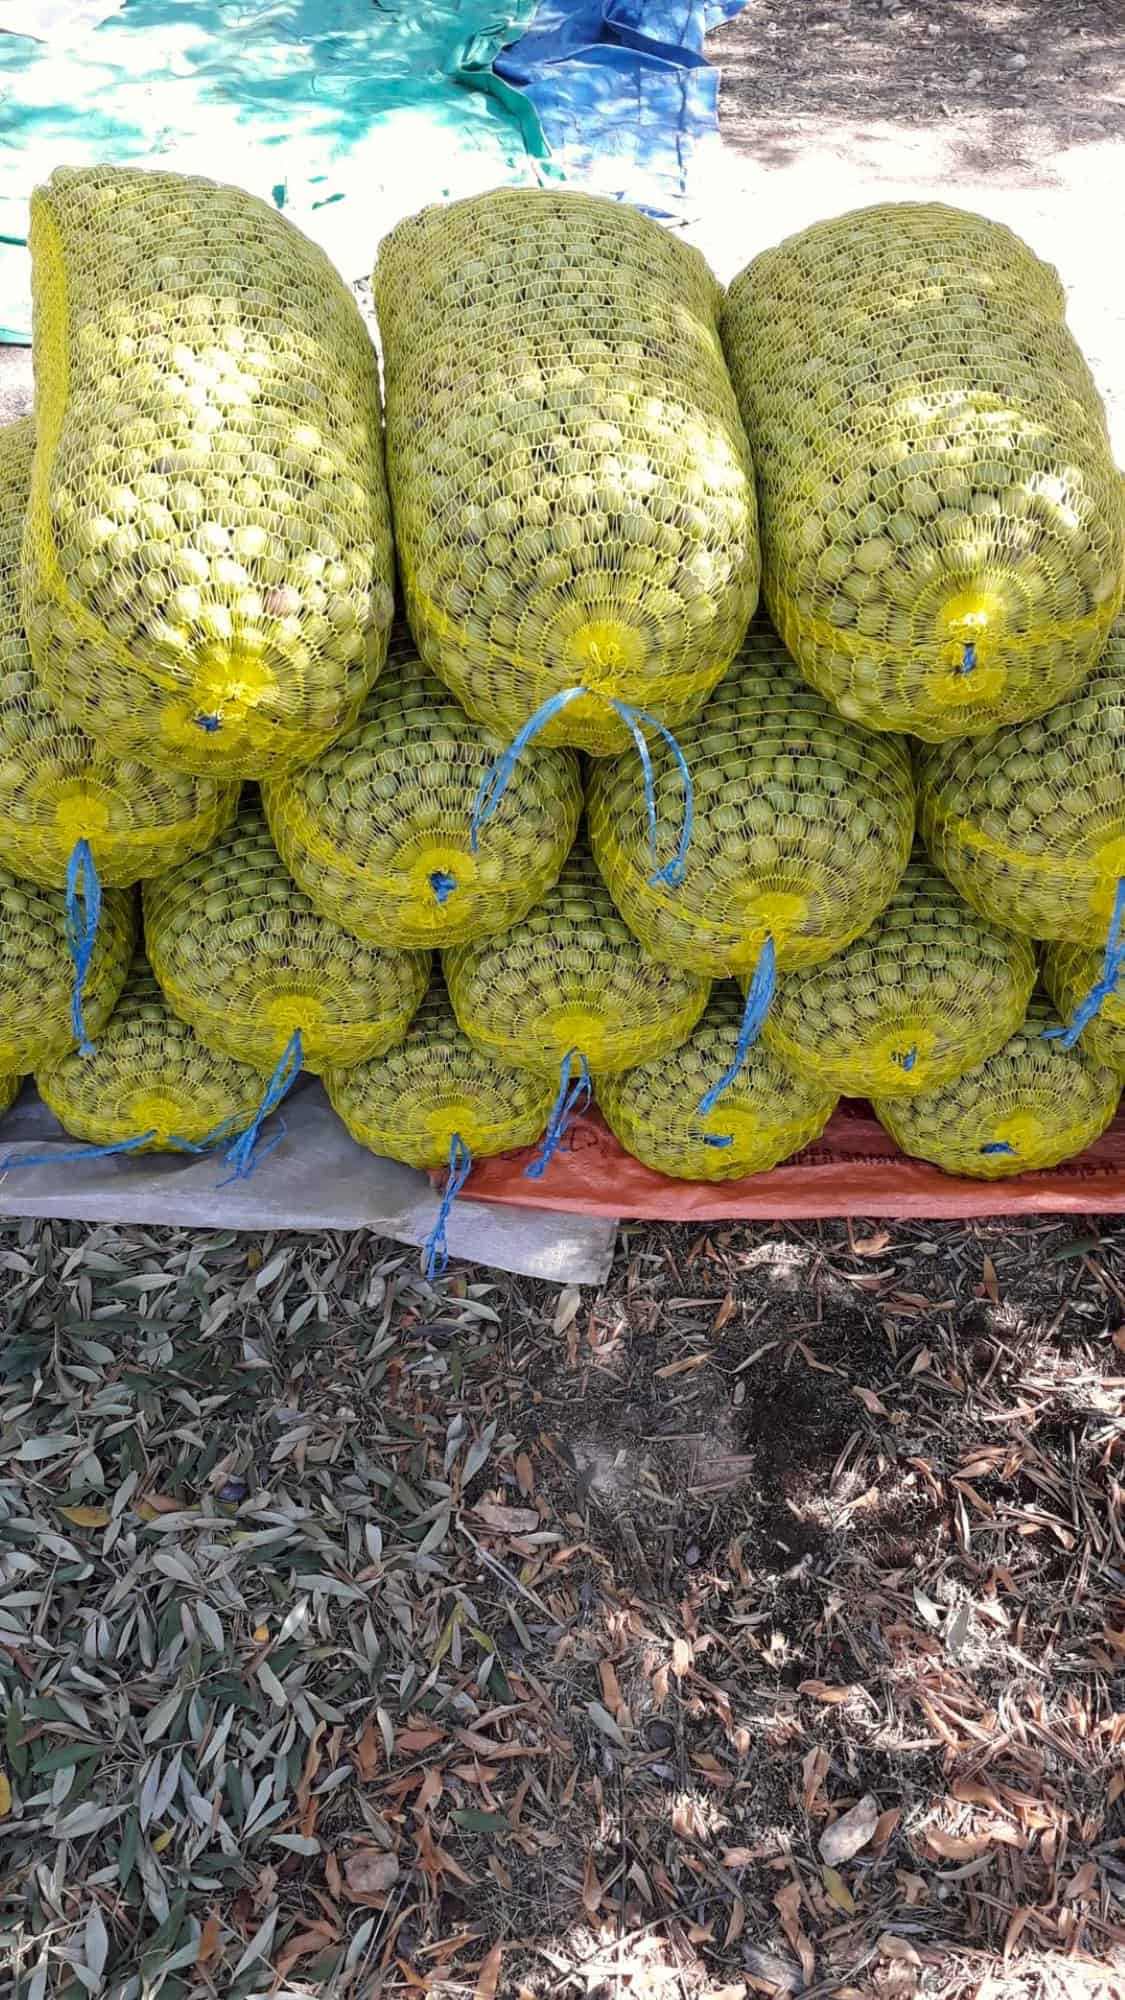
Once the olives are harvested, they're sorted. Some olives are sent to factories to transform into olive oil. The others are prepared for preservation (curing or brining) to enrich the breakfast table all year round.
The preparation for brining olives is laborious. Olives are either cracked or slit individually, a process demanding many hands. It's a task where everyone, from grandparents to young kids, is involved.
Methods of Olive Curing:
- Dry Salt Curing: It is a traditional technique primarily used for ripe black olives in Mediterranean countries. By applying coarse salt directly to the olives, moisture and bitterness are drawn out over several weeks. This natural process gives the olives a rich, concentrated flavor and a unique chewy texture.
- Lye Curing: A strong alkaline solution is used to soak the olives, reducing the bitterness in a much faster way compared to water curing. They're then rinsed thoroughly and soaked in water to remove the lye. The store-bought olives are mostly lye-cured.
- Water Curing: Olives are soaked in plain water, which is changed daily. This process helps draw out the bitterness.
- Salt Brining: This method involves soaking olives in a salt water solution.
There are several ways to cure olives, but in this post, we're going to talk about the salt brining method. It's an easy and popular way to make olives taste great. Let's learn more about it!
What is Olive Brining?
Brining is a curing technique where green olives are soaked in a solution made of salt and water. The method we use has two steps:
- Water Curing: Olives are first soaked in plain water, which is changed daily. This process helps draw out the bitterness. It might take up to 10 days.
- Brine Curing: This method involves soaking olives in a salt and water solution. Olives absorb some of the water and salt. The salt goes into the olive and helps break down its tissues. This makes the olive softer and changes its flavor.
After this process, olives turn from bitter raw fruits into delicious savory snacks. Also, the salt in the water also stops bad bacteria from growing, so it makes a perfect preservation for the olives.
How To Choose The Best Olives
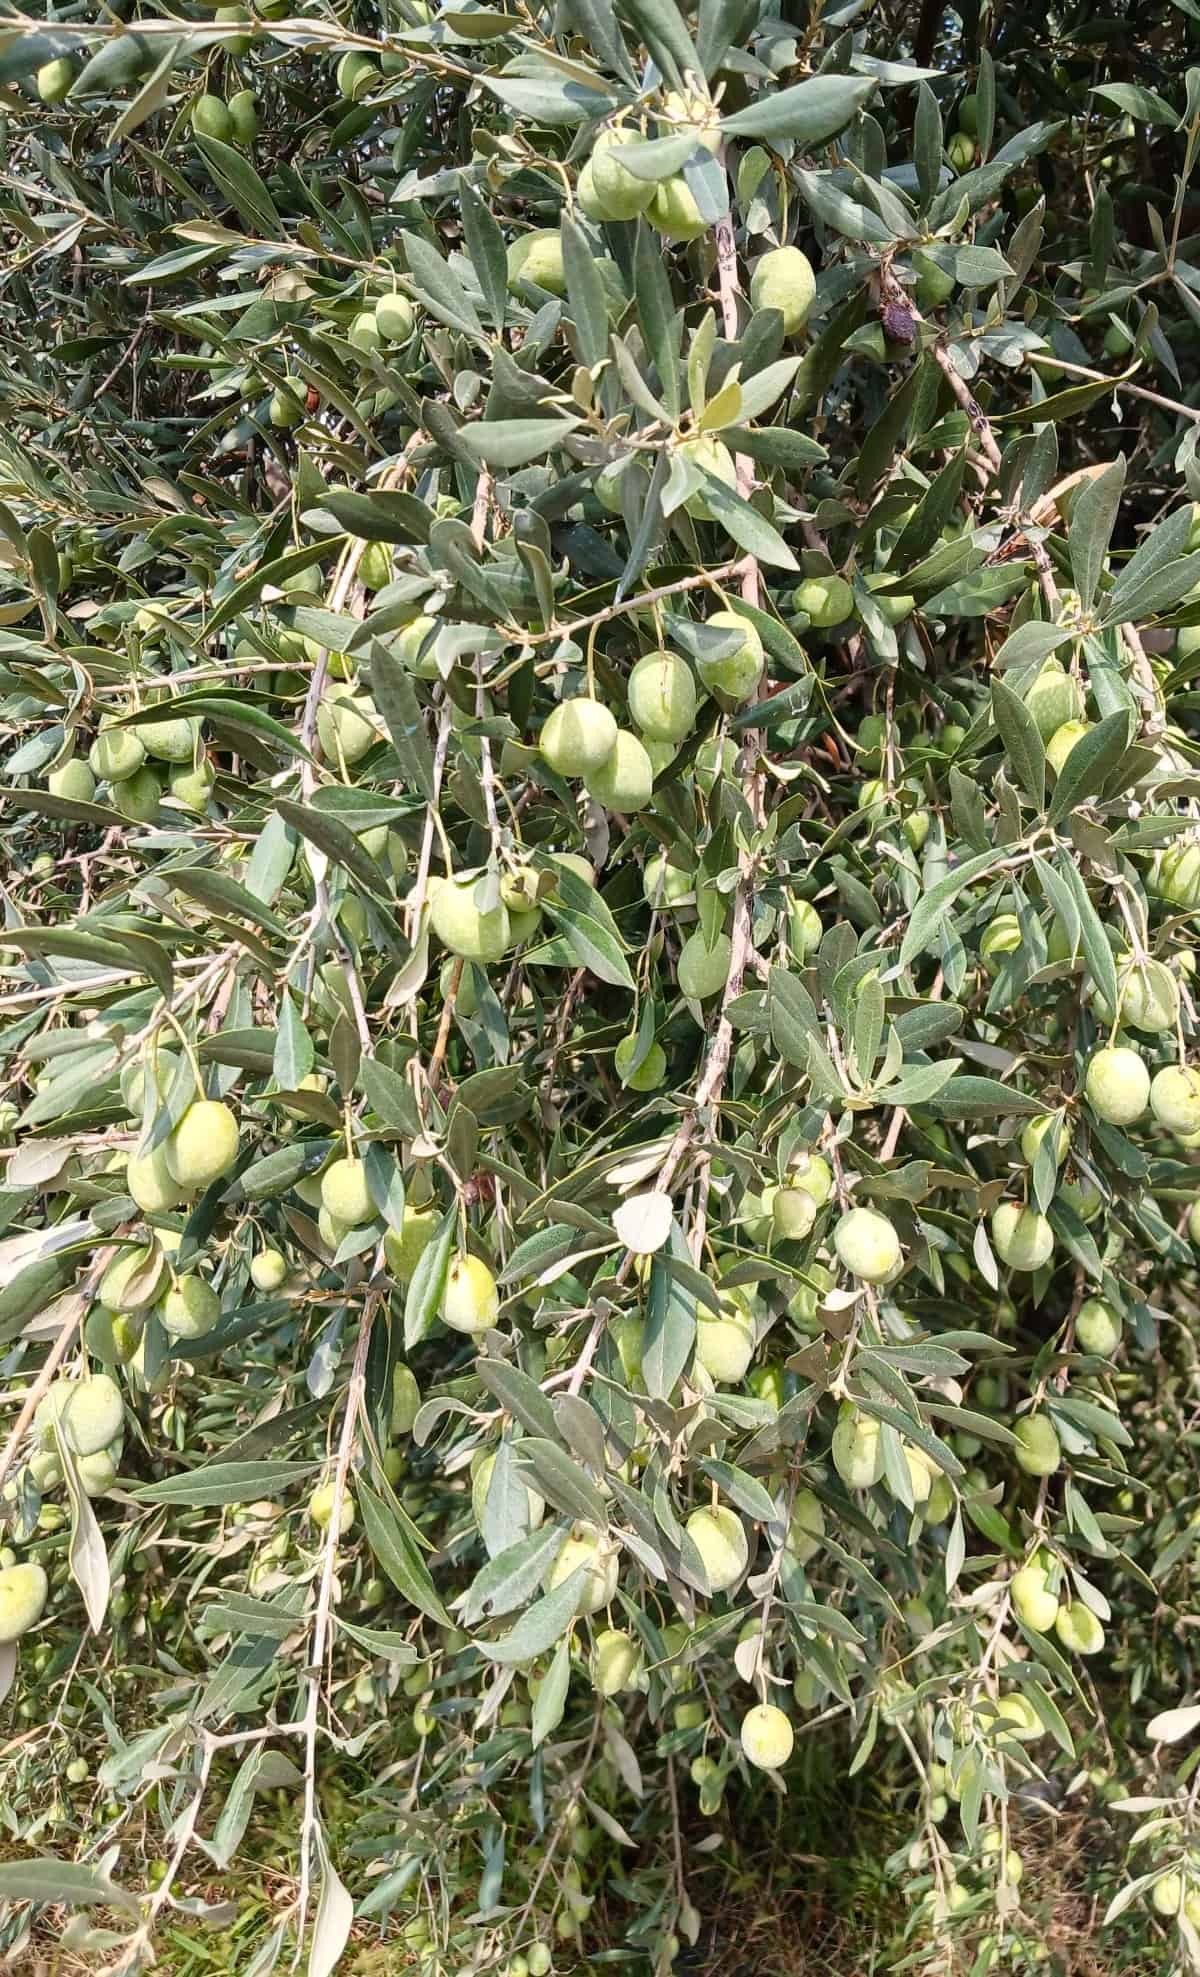
When buying fresh olives for brining, keep these in mind:
- They shouldn’t be damaged. It’s perfect if the olives are picked by hand.
- They should look firm enough. Don’t use any mushy olives.
- They shouldn’t be overripe. If you are planning to brine olives, make sure they are green. You can find the best green olives in late September and October. The darker color shows that olives are riper.
Ingredients
Creating the perfect brine for olives begins with the right ingredients. Here's a guide to what you'll need:
- Olives: Depending on the region and preference, several olive types can be used for brining, including Mission, Manzanilla and Picholine. We think fresh green olives are the best to brine. Ensure they're fresh, firm, and brightly colored. The black ones are ripe, so they have a soft texture, which makes them more suitable for dry salt-curing.
- Water: Always use clean, cold water. If you're unsure about your tap water, consider bottled or filtered water as an alternative.
- Salt: Use sea salt, kosher salt or pickling salt. These are the best types of salt when making olive brine. Regular table salt is not recommended because it often contains non-caking agents, which don't dissolve well in water and can make the brine look cloudy.
- Optional Add-ins: For a flavor twist, you can use ingredients like lemon slices, garlic cloves, or herbs such as rosemary or thyme.
How To Brine Olives At Home
Brining olives is a simple process, similar to pickling. There are basically 4 steps: Preparing the olives, removing their bitterness, making a brine and then curing the olives in this brine. Here's a step-by-step guide:
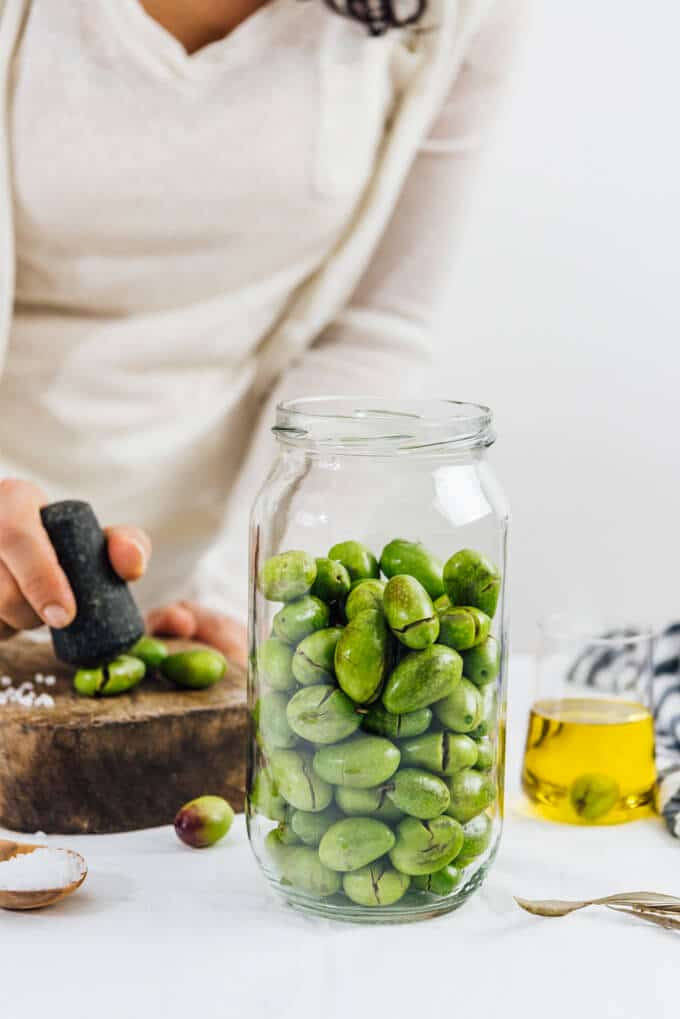
Prepare the Olives
Washing and Sorting: Rinse the olives thoroughly under running water. As you wash, inspect each olive and discard any that are damaged or have holes.
Cracking: Using a mallet, the base of a jar, or even a stone, gently tap each olive once or twice to crack the skin, ensuring the flesh slightly tears but the pit remains undamaged. Avoid using devices that might mash them. It's more reliable to crack them manually, one at a time.
Alternative method to cracking: You can also slit the olives with a sharp knife like a paring knife. It is not our favorite method though because olives remain firmer when cracked.
A personal anecdote about cracking the olives: We came across a device at the local market that promised to speed up the olive-cracking process, handling multiple olives simultaneously. While it certainly was quicker than doing them individually by hand, the results were disappointing. Many of the olives ended up mashed and their flesh was damaged. Based on our experience, we advise against relying on such devices that claim rapid olive-cracking capabilities.
Pro Tip: When brining olives, it's crucial to leave the pits intact. Not only do they help maintain the olive's firm texture, but they also play a significant role in preserving their rich olive flavor. Olives that are pitted before brining can often end up lacking in taste. So for the best results, always keep those pits in!
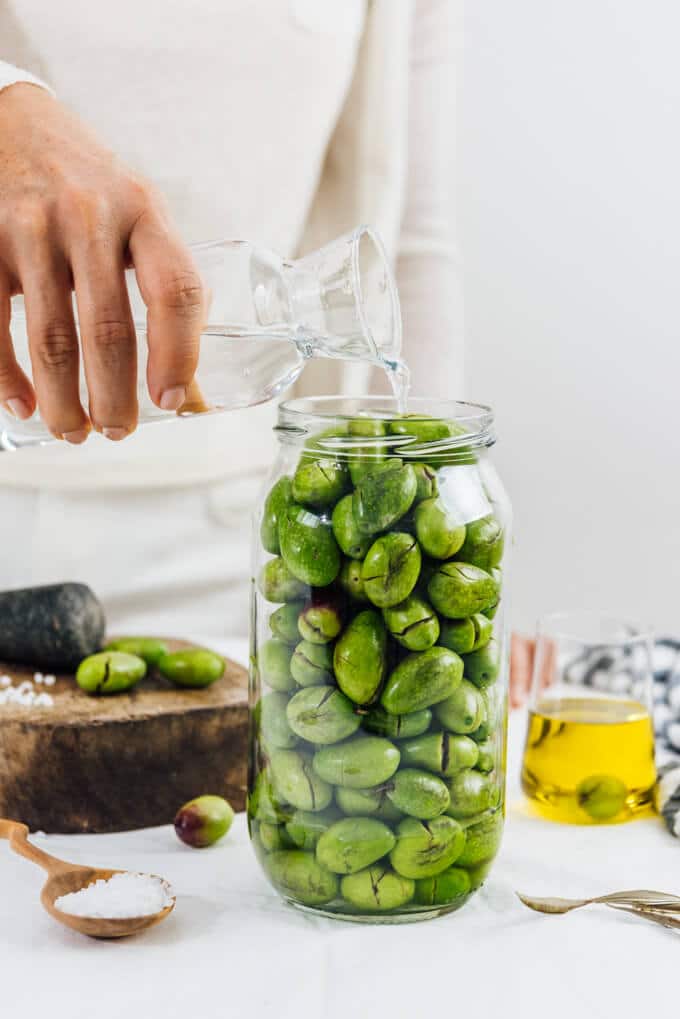
Cure the Olives in Water (to Remove Bitterness)
This is the step before brining.
- Place the prepared olives in a large glass jar.
- Fill the jar with cold water, ensuring all olives are submerged. To keep them underwater, you can weigh them down with something like a small plate or even grape leaves (a technique often used by local people in our homeland).
- Store the olives for about 10 days, changing the water daily. To refresh, drain the old water, then refill with new cold water.
- Taste-test after 7 or 10 days. If the olives retain a bitter taste, continue the water-changing process for another few days or until there is no bitterness left. Drain for the last time and continue with the following steps.
Prepare the Brine
Making a brine for olives is similar to making a basic pickling brine, but it's even simpler and doesn't contain vinegar. The brine consists of just water and salt.
Mix water and salt well in a container so that salt dissolves completely.
Pro Tip: To ensure the correct salt and water ratio, we learnt an old-school technique from the local people:
- Fill a large pot or container with water.
- Stir in some salt.
- Drop an unbroken raw egg into the pot. If it floats, your salt concentration is just right. If it sinks, add more salt and try again.
Cure the Olives in the Brine
Once the brine is ready, pour it over the water-cured olives in the jar (after draining the water inside). Make sure that the olives are fully submerged.
To minimize air exposure, place a piece of cheesecloth over the olives, then seal the jar with its lid.
Allow the olive jar to sit for about a week. Their bright green color will change a bit, it is normal. And after that, your olives will be perfectly brined and ready to savor!
Pro Tip: Before pouring the brine over your olives, you have the perfect opportunity to add some extra flavorings. Here are some suggestions: Rosemary, thyme, oregano, chillies, bay leaf, fennel seeds, lemon peel and peppercorns.
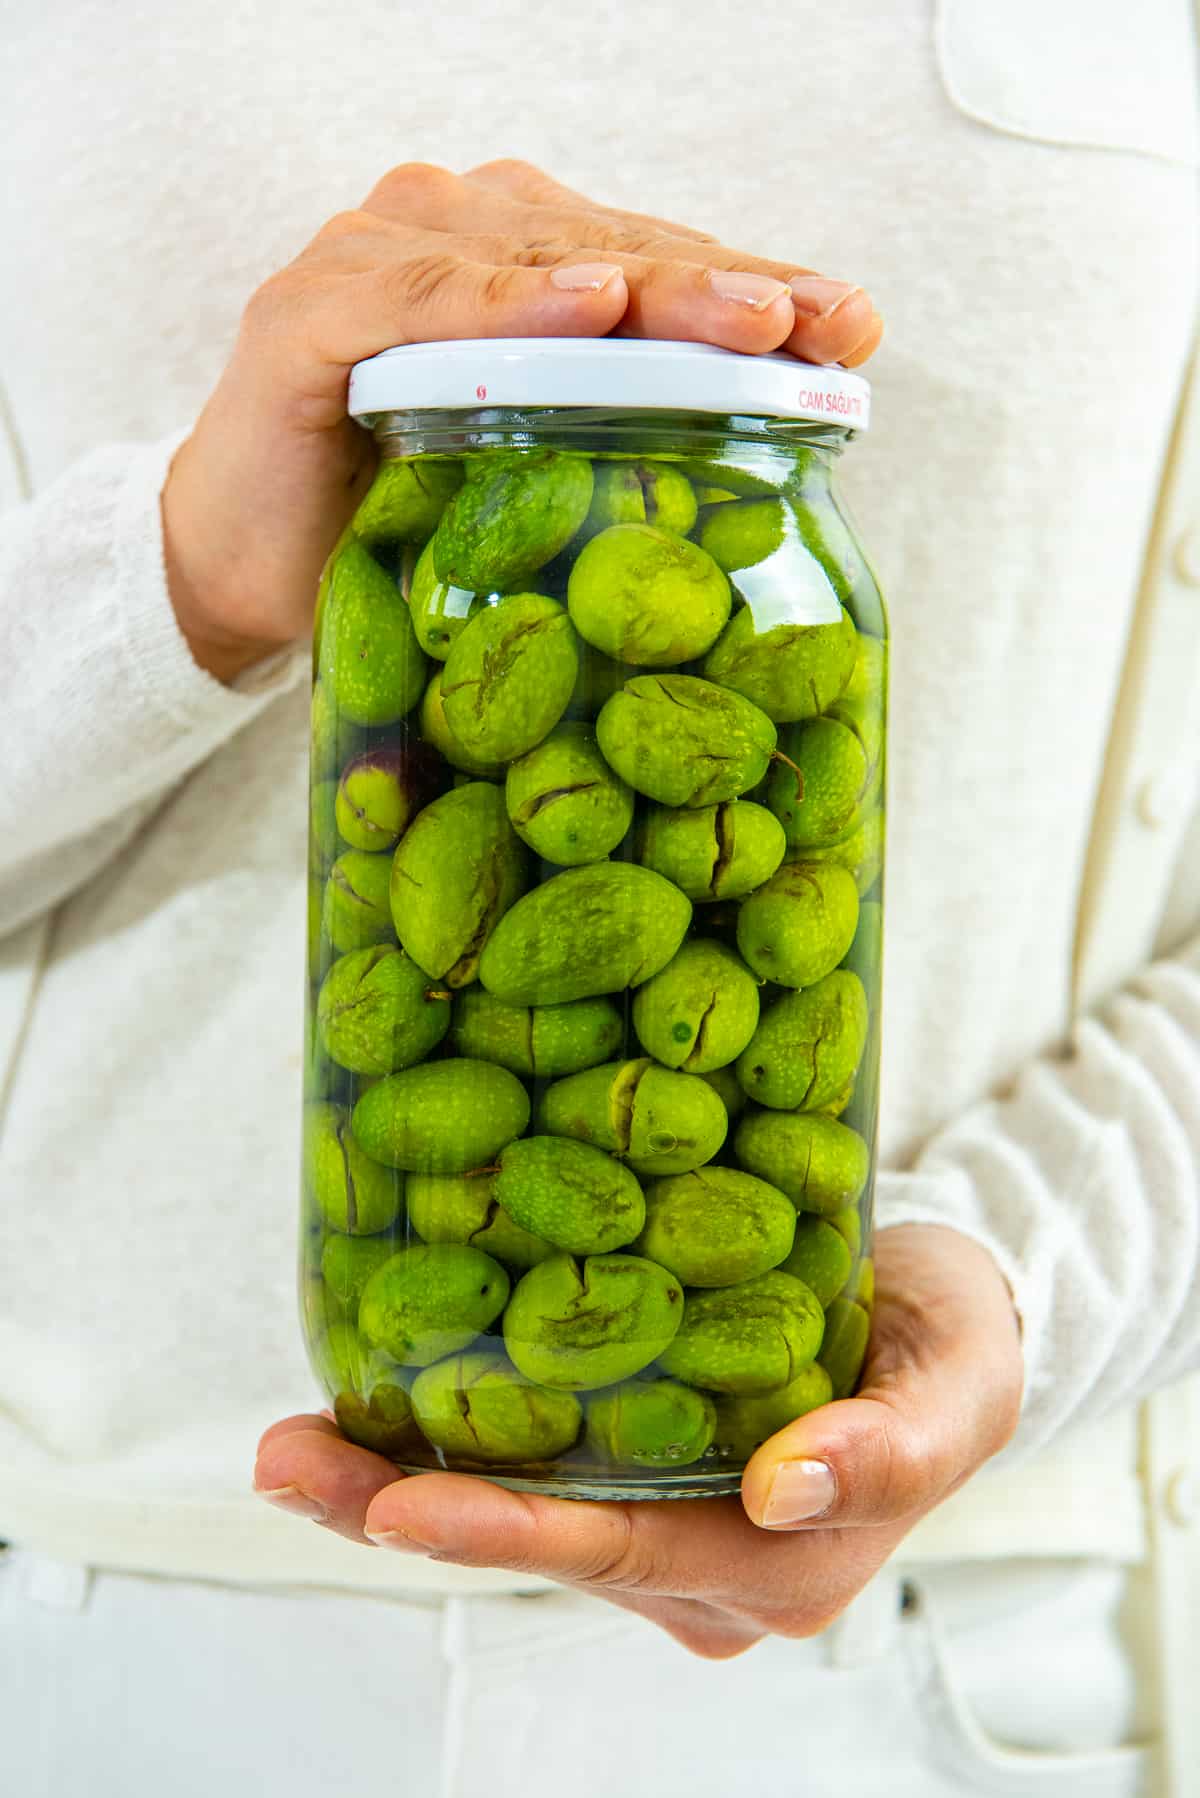
Storage
You can keep them for more than a year in a cool place away from sunlight. They don't go bad in a short time. Thanks to salt, they can stay fresh and firm for a long time.
They can be kept either in the refrigerator or at room temperature. However, once you've opened a jar, it's best to store it in the fridge to maintain its freshness.
How to Prepare them Before Eating
Now that we have learnt how to pickle olives, let's learn what to do before eating them.
It is not a good idea to eat the olives straight from the jar after the brining process, either. You will probably find them too salty.
The best solution to remove the excessive salt is to soak the olives in water before eating. Here is what to do before serving homemade pickled olives:
- Take as many olives as you need from the jar using a slotted spoon.
- Put them in a bowl and pour cold water over them. Rinse and repeat for a few times.
- Finally let the olives sit in water for 15 minutes and drain.
- Drizzle a generous amount of olive oil over them. Garnish them with fresh thyme, lemon slices and / or chili flakes if you want and then serve.
Tip: The rest of the pickled olives in the opened jar can remain for several weeks. You can take olives from there whenever you need.
Uses
Brined olives are a delightful and versatile ingredient that can enhance a variety of dishes and serve as a perfect accompaniment for many meals. Their rich, salty flavor and unique texture make them a favorite in several ways:
- Traditional Breakfast: Especially in countries like Turkey, brined olives are a staple on the breakfast table, paired with cheese, bread, and tomatoes. Check out our traditional Turkish Breakfast Foods!
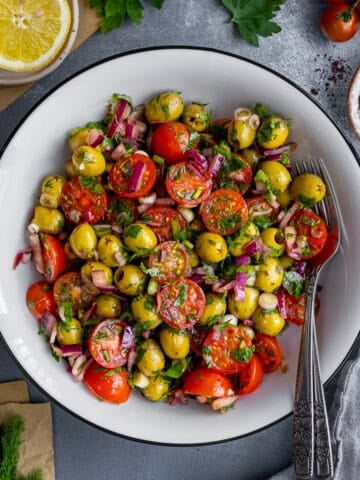
- Salads: Olives add a burst of flavor and saltiness to salads. They pair wonderfully with ingredients like tomatoes, cucumbers, and onions. Check out our ultimate Green Olive Salad!
- Tapenade: Blend brined olives with capers, anchovies, garlic, and olive oil to make a tapenade, a flavorful spread perfect for toast, sandwiches, or as a dip. Check out our Green Olive Tapenade!
- Breads and Focaccias: Chopped olives can be incorporated into bread doughs, giving the finished loaf or focaccia a deliciously salty and olive-rich bite.
- Snacking: Simply enjoy brined olives on their own as a tasty and satisfying snack, perhaps paired with cheese or a glass of wine.
- Garnishing: Use them as garnishes for dishes like kumpir (Turkish baked potatoes) or drinks, like in a dirty martini, to provide a pop of flavor and a visual appeal.
FAQs
How long does it take to make olive brine? Preparing the brine solution is quick and can take just a few minutes. However, the curing process, where the olives sit in the brine for fermentation, can take from a few days to several weeks, depending on the olive type and desired flavor.
Can olives cure without salt? Salt is crucial in the curing process as it acts as a natural preservative.
What is the best container to brine olives in? Glass jars with airtight lids are ideal for brining olives. They don't react with the salt or olives, ensuring the olives maintain their flavor and texture. Make sure the container is clean and free from any residues.
How can you tell if olives have gone bad? Look out for visible mold or any unusual discoloration not related to the brining process. A change in texture or an off-odor can also indicate spoilage. If in doubt, it's best to discard the olives.
More Recipes with Brine
Recommended Recipes
As always: If you make this recipe, let us know what you think by rating it and leaving a comment below. And post a pic on Instagram too—tag @give_recipe so we can see!
Sign up for the FREE GiveRecipe Newsletter to get the new recipes into your inbox! And stay in touch with us on Facebook, Pinterest, YouTube and Instagram for all the latest updates.
📖 Recipe
How To Make Olives in Brine
Brining olives at home is so easy. It just needs water, salt and some patience.
- Prep Time: 15 days and 30 minutes
- Cook Time: 0 minutes
- Total Time: 0 hours
- Yield: 1 jar 1x
- Category: Preserving
- Method: Brining
- Cuisine: Turkish
Ingredients
- 2 pounds (1 kilo) green olives
- 1 liter water
- 2 tablespoons sea salt (or kosher salt)
Instructions
- Wash and sort the olives: Give your olives a good rinse under tap water. While you're at it, keep an eye out for any damaged ones or those with holes. Toss these out.
- Crack the olives: Take a mallet, the flat end of a jar, or even a stone, and gently tap each olive. You want to crack them just enough to see a bit of the flesh, but not so hard that you damage the pit. And, from our own experience, it's best to do this by hand, one olive at a time. There are gadgets out there that promise to make this step quicker, but we tried one and it was a letdown. A lot of our olives got squished instead of cracked.
- Keep the pits in the olives. This isn't just about texture – the pits help keep that classic olive taste. Olives can lose flavor if they're pitted before the brining process.
- An alternative way: Instead of cracking, you could make a small cut on each olive with a sharp knife. We find olives stay firmer when cracked, but this is up to you.
- Soak the olives in water: Put your cracked olives in a big jar and fill it with cold water. To make sure the olives stay under the water, put something heavy on top, like a small plate or grape leaves (that's what folks do back home).
- Change the water: Do this once a day for about 10 days. After this time, try an olive. If it's still bitter, keep changing the water for a few more days.
- Make the brine: To get the mix right, fill a container with water, add salt, and stir.
- Brine the olives: Once your brine is ready, pour it into the jar with the olives (make sure you've drained the soaking water). The olives should be completely covered. To keep air out, put a piece of cheesecloth over the olives, then put the lid on. In about a week, they'll be ready to eat! They might look a little different – a change in color is normal.
- Optional flavor addition: Before you add the brine, you can put in some extra flavors. Think about adding rosemary, thyme, lemon peel, or chili.
Notes
- Crack Carefully: When you crack the olives, be gentle. You don't want to hurt the pit inside.
- Keep Pits: Don't take the pits out. They help keep the olives tasty.
- Change Water: If you're soaking the olives to remove bitterness, remember to change the water every day.
- Make Enough Brine: If you have more olives, you can make more brine. Just use the same ratio of salt to water.
- Seal Tight: When you put the olives in brine, make sure the jar is closed tight. This keeps air out.
- Don't Use Hands: After opening the jar, use a spoon to take out olives. Touching them with your hands can bring in germs and spoil the brine.
- Store Right: Keep the jar in a cool, dark place. They keep well for a year.
- The nutrition facts are assumed for canned olives.
Nutrition
- Serving Size:
- Calories: 164
- Sugar: 0.6 g
- Sodium: 1764.9 mg
- Fat: 17.4 g
- Carbohydrates: 4.4 g
- Protein: 1.2 g
- Cholesterol: 0 mg



Atika says
Hi there! this is my first time curing green olives and now I'm at the stage of covering the olives in salt-brine and I'm using cheesecloth plus the lid to cover it. My question would be is it necessary to keep using the cheesecloth after the initial 10 days brining? Thanks!
Zerrin & Yusuf says
Hi Atika,
We put cheesecloth to prevent the olives that are on the top from being exposed to air. So yes it's better to put it at the stage of putting the olives in salted brine. You can remove the cheesecloth when you start eating the olives after about a week.
That being said, if your jar is large enough and if you are sure that all the olives are well covered with brine and none of them are close to the surface of the brine, then you won't need the cheesecloth.
Hope this helps.
Chris says
Thank you for this information. I just started water-curing my green olives yesterday. I cracked them and soaked them in water overnight, with a plate on top of them, to keep them submerged.
My question: this morning when I went to change the water, I notice that some of the olives are brown now, along the lines where they're cracked. I suspect they got exposed to air before going in the water. Is this okay, or have I ruined the batch?
Zerrin & Yusuf says
Hi Chris,
The reason for some olives' losing their color is, as you say, they must have been exposed to air for a longer time. But don't worry, they are still ok. The only thing is they won't be as green. So you haven't ruined the batch.
Thank you for asking this question. We should add in the recipe as a tip that you shouldn't keep the cracked olives outside for long before pouring water over them.
Would love to learn what you think when they are ready to eat!
Cheers!
Dee says
Hi
Can you so this with olives that was purchased and all the juice was used. Only olives in jar.
Ajay Kaul says
Sir
Purchased a JAR of Olives
After opening the Jar ........ after a week now ....The BRINE IS TURNING COLUR TO YELLOW .......Why is turning yellow ....IS IT ALRIGHT TO EAT THE OLIVES ...Regards AK
Yusuf says
Hi Ajay,
To be honest, I have no idea why the brine is turning yellow but I guess it is okay to eat the olives after giving them a good rinse.
Carla Sifoni says
Thanks for the recipe! It’s been two weeks since I jarred my olives. I have 10 jars. Opened half of them so far and the brine is fizzing and bubbling like seltzer. Are they still good to eat? What do I do? Do I replace the brine or throw them out? I’m so worried!
Yusuf says
Hi Carla,
So you changed the water in the jar for 10 days with clean water, right? Then you made the brine and put the olives(that are no longer bitter) in it?
Never experienced that bubbling like seltzer. But here is our solution for you: Taste a few of the olives and transfer them in a new brine if they taste good. Hope this helps.
Gudik Holm Plews says
Hi, thanks for the recipe.. One thing remains ambiguous to me: You both write that the olives can be kept in the salt/water brine for more than a year and that "the rest of the olives can remain in the jar for a few weeks".. So is it important that the salt/water brine is absolutely air tight and once you open it you only have a few weeks to eat the rest?
Yusuf says
That's right. When they are air tight closed, olives can stay longer. So it's better not to make them in too large quantities. Having said that, an opened jar can stay longer than a few weeks as long as you don't touch the olives by hand.
Diana says
Thank you for this recipe! I have made my jar first time before three years and it was discovery! I bought green olives and we go again 😉
Yusuf says
Hi Diana,
So happy to hear that you loved it! Everything homemade is the best. Right? Thank you for the feedback!
Meredith says
Help! I followed the instructions here but some of my jars, after 2 weeks in brine, have mould forming at the top! Do you know why this would have happened and Is there anyway to salvage those jars? Can I change the brine again and get rid of the olives at the top closer to the mould? I feel like it my have something to the do either with slicing vs cracking them (we did a bit of both) and/or the cheese cloth at the top of the jar.... any suggestions! I would hate to throw out everything!
Yusuf says
Hi Meredith! Mould might be caused by air exposure. Please make sure the jars are tightly closed. Another thing is that we should never touch the olives with hands after we put them in brine. Just like pickling. It causes bacteria and thus the mould comes out. So what to do now? You can remove the olives that are on the surface and touching to the mould and the mould. Close the jar tightly. If it happens again, make a new brine in a clean jar and transfer the olives into it. And when you want to eat, take some in a bowl, wash well and then serve with olive oil. Hope these help.
Jenny says
I put about a table spoon of extra virgin olive oil on top of the olives in brine to seal out the air. They last a long time when sealed this way … no mould
Zerrin & Yusuf says
Hi Jenny,
Sealing it with olive oil sounds brilliant! Thank you for your contribution!