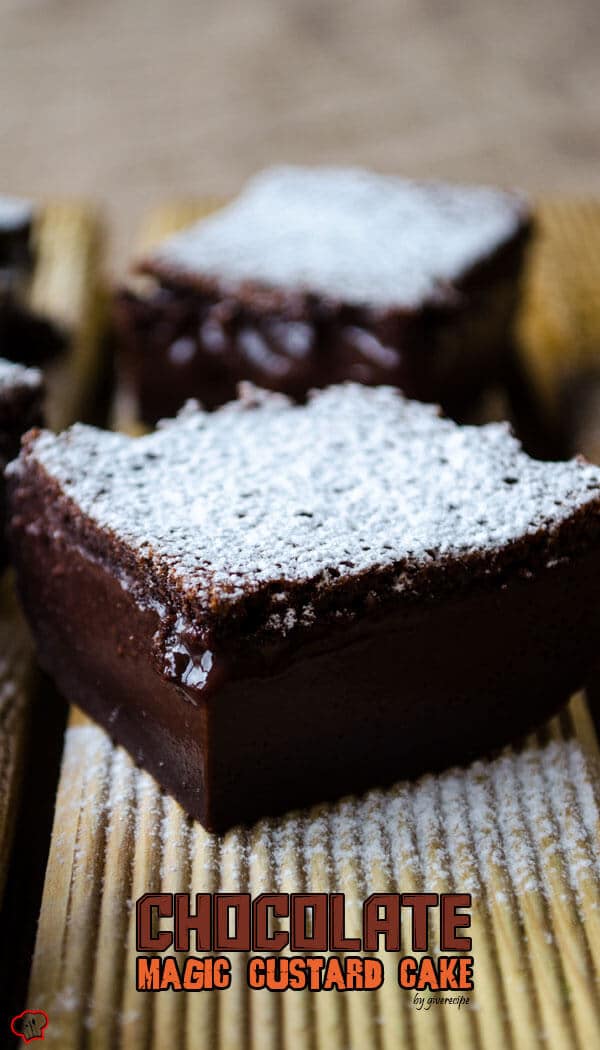
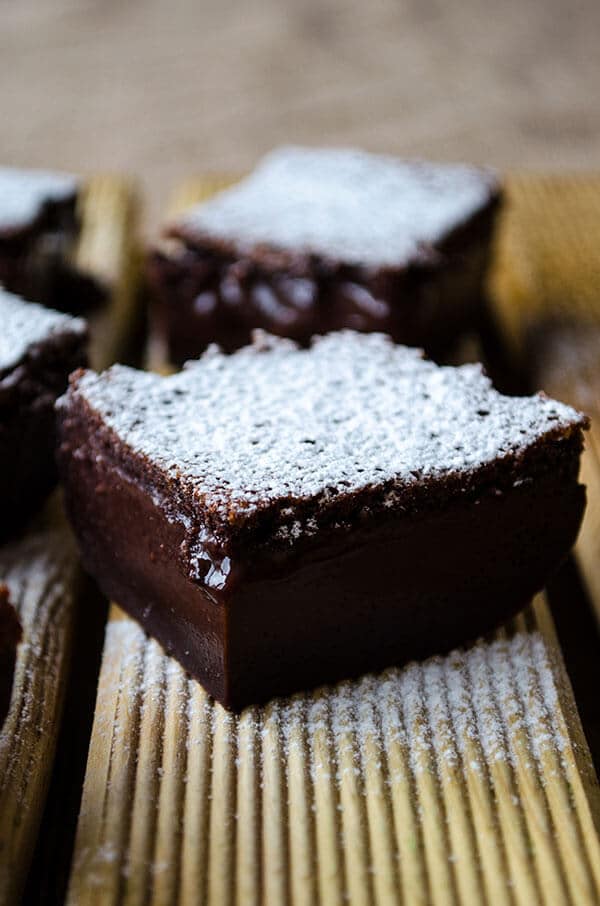
Chocolate Magic Custard Cake will blow your mind with its look and taste. One cake batter results in 3-layered cake. Don’t worry about the runny batter, it will bake up perfectly!
This recipe is on the top among all our cake recipes for a reason. Easy to make and wonderfully chocolat-y!
Is there anything more delicious than a chocolate custard cake? Not only is it a favourite among the kids but anyone who loves something sweet and chocolaty will instantly fall in love with this custard cake. Don’t worry if you or your guests go for seconds or thirds, because this recipe will be the talk of the town.
This is a bad-ass chocolate cake! Once you have the first slice, you must know that you are ready for the second or even third! Are you obsessed with chocolate but don’t want one of those dense desserts since you don’t want to gain the pounds you’ve just got rid of? This fool-proof chocolate magic cake is what you need!
What Is Magic Cake?
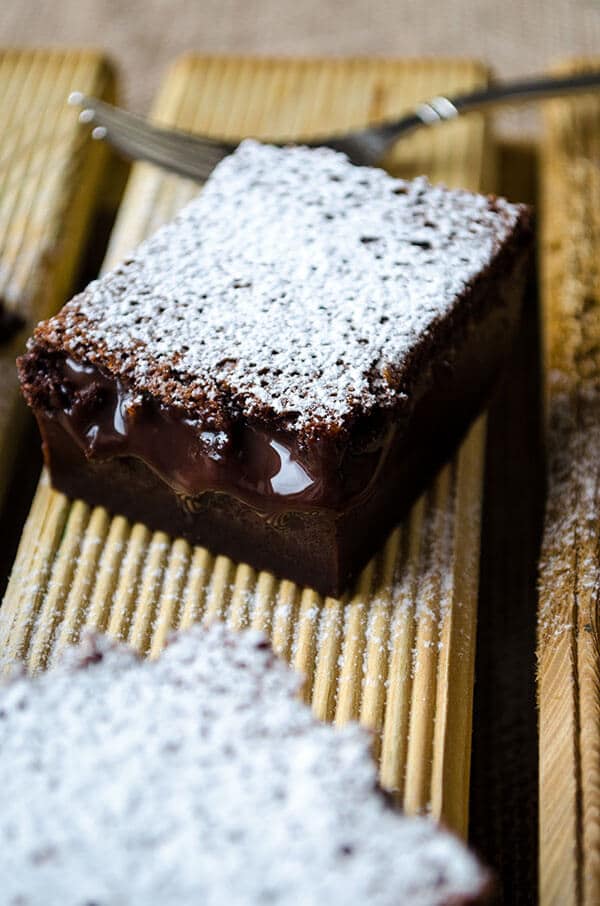
We wish we could say that a magic cake is just one of Houdini’s amazing culinary tricks, but in reality it is a scrumptious three layered baked custard cake: Fudgy layer at the bottom, chocolate custard in the middle and a sper airy cake layer on the top.
The magic happens when all three layers bake in the same dish without having to layer it yourself. You can make it in different flavors.
It is pretty simple as it contains the basic ingredients for any cake: eggs, sugar, vanilla extract, milk, butter, flour and cocoa powder.
It may not seem like rocket science but baking is a science, and this custard cake will blow your mind with the result you end up with.
What is the magic?
Like we said above, baking is a science; the reason why you get all three layers of the baked custard cake in one pan is the batter is more “liquidy” than most cakes and we bake it at a lower temperature for a longer period of time. This way the custard cake has more time to settle into a custard and sponge layer.
The top layer of the magic custard cake is usually white eggs that are added last to the batter for a fluffy sponge.
Ingredients
If you want to make a custard cake – to be specific, a chocolate custard cake you will need to keep one important thing in mind: the temperature of your ingredients. Make sure your ingredients are at room temperature, especially the eggs. You don’t want the eggs to be too cold or too hot. The bake time for your cake will also differ if your ingredients are not at room temperature when you start making the batter.
Moreover, whether you use confectioner’s sugar or regular sugar, make sure you measure the amount accordingly and add that to the batter. You’ll find that adding milk makes the batter quite thin and liquidy. This is what you should be aiming for, but remember to gently whisk the batter instead of using a stand mixer.
If you think your batter is too lumpy, don’t be discouraged. Usually, if you’ve added all the right amount of ingredients and followed the recipe closely, a little continued mixing can easily bring out that signature liquidy texture that custard cakes are famous for.
Now onto the custard cake recipe.
How To Make Chocolate Magic Cake
As mentioned earlier, start out by making sure your ingredients are at room temperature. Follow the usual routine of preheating your oven before you go ahead and start making the batter. Be sure to heat up your oven to 320F (160C).
Now that your oven is ready, you can proceed with the batter. Start out by separating the egg whites into a bowl. Ideally, the four eggs you use should be at room temperature. Once separated, go ahead and whisk the egg whites. Generally, a good rule of thumb is to keep whisking the egg whites until you start seeing white peeks forming.
Bring out the bowl with the egg yolks that you previously separated. Add the vanilla extract and sugar into the bowl. Begin mixing these three ingredients gently until you see a creamy texture start to form. Next, add melted butter and keep mixing. Once the butter is mixed, add flour and unsweetened cocoa powder into the mixture. Gradually begin adding milk to this while simultaneously whisking the batter.
Now, fold in the egg whites (one third at a time) and continue mixing gently. Be careful with it though, you don’t want to mix the batter too much. Just stir it enough so that all the ingredients are combined and the mixture is runny in texture. Transfer this runny batter into your baking pan and bake for 60 minutes in the oven.
Don’t be alarmed if the centre of the cake is jiggly. In fact, a jiggly centre is precisely what you should be aiming for. This jiggly centre is pretty common for custard desserts so give yourself a pat on the back for coming this far. After the cake is baked, let it rest for about half an hour. Let the cake cool down and reach room temperature. Only then transfer it to your fridge to chill. Now you can slice it up and enjoy it.
A magic cake recipe can go wrong if you don’t let it cool to room temperature, and then let it chill for at least an hour. Otherwise, it will be so runny that you won't be able to slice it.
More Chocolate Recipes
Sign up for the FREE Give Recipe Newsletter to get the new recipes into your inbox!
And stay in touch with us on Facebook, Pinterest, YouTube and Instagram for all the latest updates.
📖 Recipe

Chocolate Magic Custard Cake
Video
INGREDIENTS
- 4 medium eggs at room temperature
- 1 teaspoon vanilla extract
- 1¼ cups sugar
- 110 g butter melted and cooled
- ½ cup all purpose flour
- ¼ cup cocoa powder unsweetened
- 2 cups milk lukewarm
- 1 tablespoon powdered sugar
INSTRUCTIONS
- Preheat oven to 320F (160C).
- Grease a 8x8 inch baking pan and line it with parchment paper.
- Separate egg whites and yolks.
- Beat egg whites in a bowl until stiff and put aside.
- Whisk egg yolks, vanilla extract and sugar until creamy.
- Add melted butter and mix for half a minute.
- Add the flour and unsweetened cocoa powder. Mix with a whisk until incorporated well.
- Pour the milk gradually and continue whisking.
- Add in the egg whites, one third at a time and gently stir with a whisk. Don't overmix, just stir until combined.
- Pour this runny batter into the baking pan and bake for 60 minutes.
- The centre of the cake will still be jiggly when removed from oven.
- Let it cool for about half an hour and then remove from the pan. When it reaches room temperature, chill it at least for an hour.
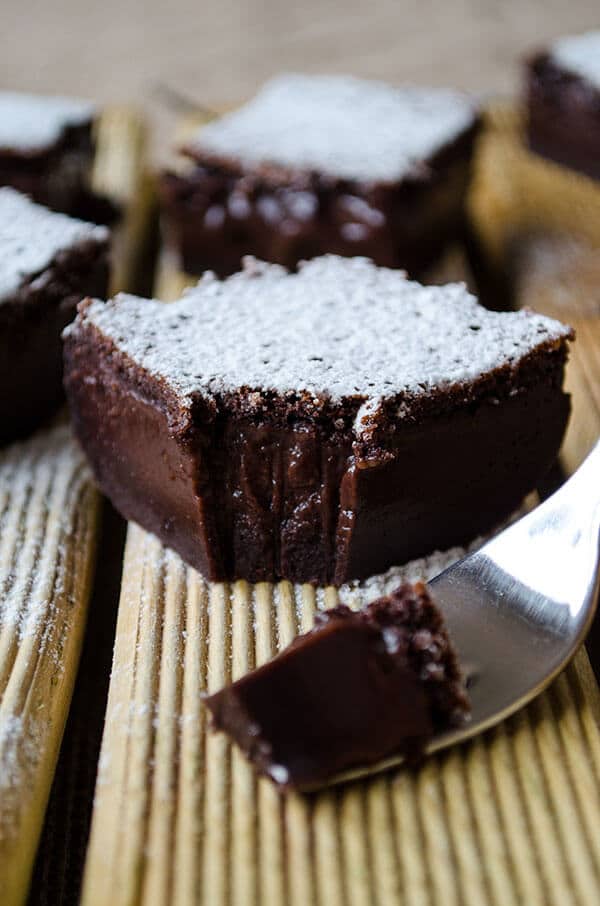
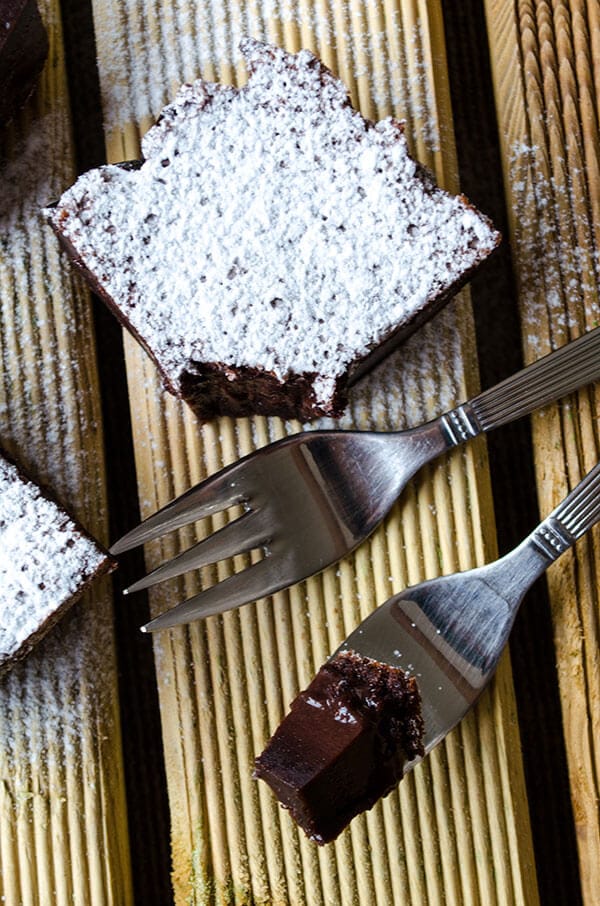
- Slice it in the size you like and dust with powdered sugar right before serving. You can garnish it with fresh fruit too.
- Keep it in refrigerator until you finish it all.
NOTES
NUTRITION
Nutrition information is automatically calculated, so should only be used as an approximation.
Eixa says
I just tried this recipe and did not get the results are shown in the pictures. 🙁
I'm wondering what I did wrong.
Is this recipe supposed to be prepared using an electric mixer? Just getting into cooking and having invested in one yet.
Leslie says
OK. I'll start by saying I got really nervous thinking I wasted effort & ingredients when I read some reviews (I read while it was in the oven already). It turned out fine! Not too rich & an interesting texture. It had the egg white bumps some referred to but they baked in. Once baked & sprinkled with the powdered sugar it looked right. Not a pretty color before baking. Definitely distinctive texture layers. It ended up looking pretty close to the picture I re beat the whites right before combining since once set aside as directed, they appeared too liquidy. Less creamy than flan, bottom layer closer to a firmer jello. Bottom line, don't fear this recipe. Everyone enjoyed it and I'm a frequent baker but no pro! Reminded me of flourless versions. I used an 8x8 glass pan & refrigerated overnight. Hope this helps! Give it a try 🙂
Zerrin says
Hi Leslie! So happy to hear that you're pleased with the result you had. And thank you so much for sharing your experience here with us. Hope you inspire other readers too!
PenelopeCruises says
Good Lord - Some of these questions--I wonder if some of these people can even can figure out how to turn the oven on.
Glenda says
The picture looks good, but there are so many questions about what to do. Has anyone actually made this cake? Seems like everyone is having problems. Let me know before I make a mess of it like everyone else has.
Rach says
Recipe looks amazing! Would it work with some sort of non-dairy milk like soya milk or almond milk?
Ginny says
Have you ever made it with a sweetener other than sugar? Spcifically Steevia exctract?
Zerrin says
No Ginny, I haven't. I'd love to hear the result here if you happen to try it.
michelle says
Why cant i find the recipe?
Zerrin says
Hi Michelle! Sorry, there was a technical problem yesterday. Now you can see the recipe.
Laurie says
Made these for a party and they are AWESOME!!!!! Serious rich chocolate flavor! Mine didn't look as good as yours, they weren't as dark...the colors sort of separated into a dark brown, then a lighter brown and then the top was darker. But they tasted AMAZING! Everyone who tried them loved them.
Zerrin says
Hi Laurie, I'm so happy to hear that you loved it! Isn't it really magical to have three layers in the end? The color difference is probably because of different cocoa powders. Mine was really dark. Thank you so much for sharing your feelings here. Cheers!
Karen Boig says
I consider myself a very good baker/cook. I followed this recipe exactly as stated. Not even close to the picture. It was horrible! I just don't get all the positive comments! I must be missing something!
Debora B says
My postitive comment was because it still tasted really good, despite not being as dark as the pic (due to different cocoa powder). If it tastes good, I don't care what shade of brown it is. Did yours still taste good at least?
Debora B says
This was GREAT!!
I threw in a little extra cocoa powder than what the recipe calls for to compensate for not having a better quality brand, used an 8 x 8 glass pan, and baked for 70 minutes. Doesn't look nearly as dark as the pictures, but takes amazeballs!!
Zerrin says
Happy to hear that you loved it! The dark color could vary depending on the brand of cocoa powder you use. Thanks for sharing your experience here.
Erin says
Has anybody found a solution to the egg whites on top? They baked into a bland top on the cake that I just cut off. The rest was delicious. Has anybody tried leaving out the whites entirely?
I really want the crusty top like in the pictures.
Kim says
Delicious!!
Ashleigh says
It may look like the pictures when it comes out but it is disgusting. Tastes bland and the texture is rubbery. Do not waste your time or ingredients making this!
Katy says
Where can I find the Zesty version of this recipe?
Zerrin says
I shared the link in the post indeed. If you can't view it, see it here please: https://www.giverecipe.com/zesty-magic-custard-cake.html
Rachel says
What is the size of the pan used, in inches? Sounds like 12 x 7 or something....but that's a strange size....I'd like to do a 13 x 9, and serve more than 6
Zerrin says
13x9 is fine. I used a rectangular pan but you can make it in a 9x9 square pan too.