Cakes
Looking for easy cake recipes you can make at home? Here you’ll find a mix of simple and delicious cakes, from everyday bakes to more special treats.
-
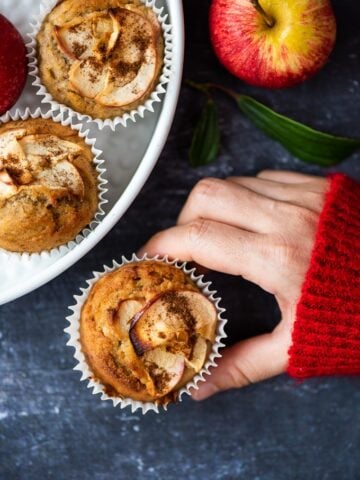
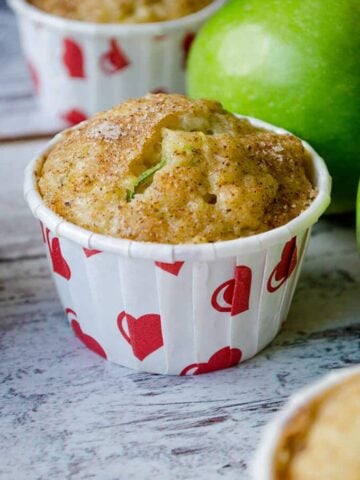
Healthy Apple Cinnamon Muffins
-
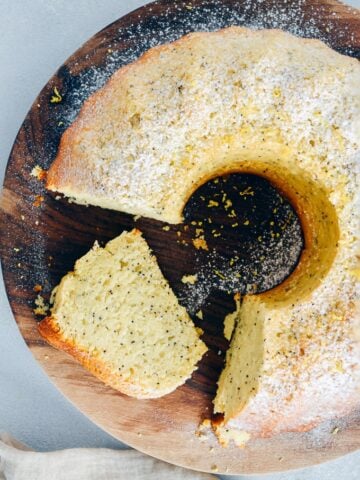
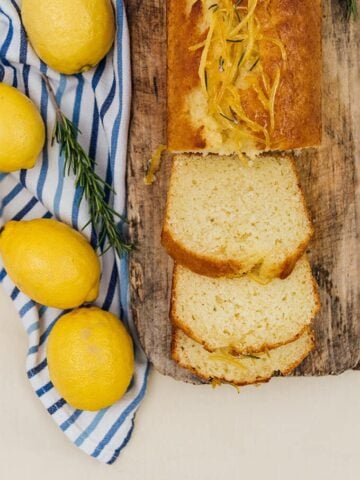
Lemon Poppy Seed Bundt Cake
-
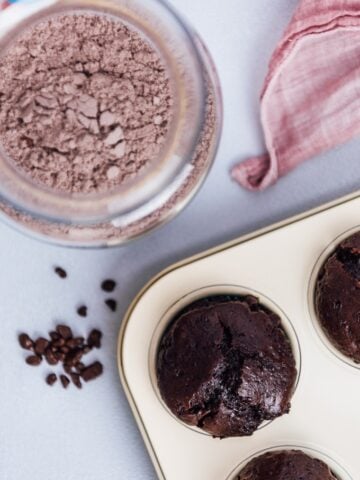
Homemade Chocolate Cake Mix Recipe
-
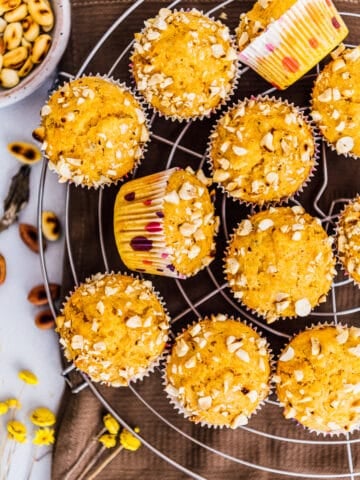
Pumpkin Muffins With Cake Mix
-
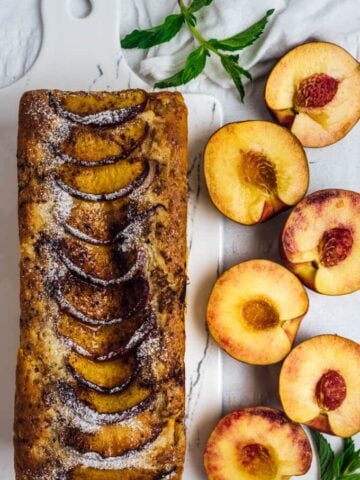
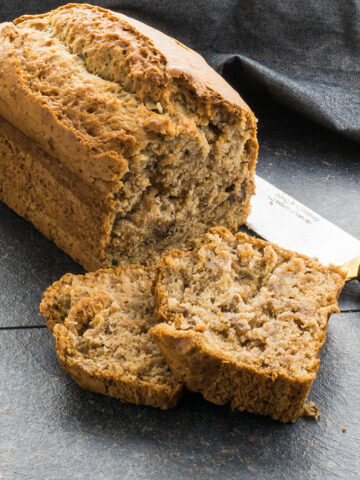
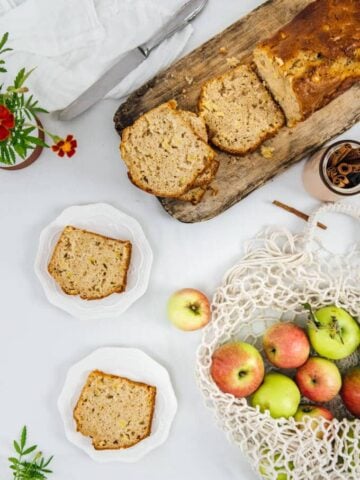
Fresh Peach Bread Recipe With Walnuts
-
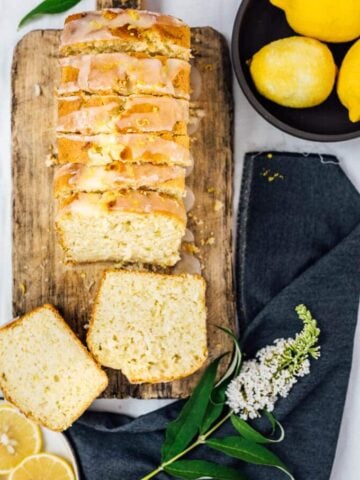
Glazed Lemon Zucchini Bread
-
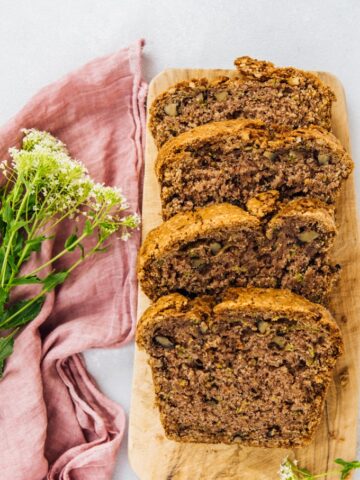
Eggless Zucchini Bread
-
Olive Oil Banana Bread (with Yogurt)
-
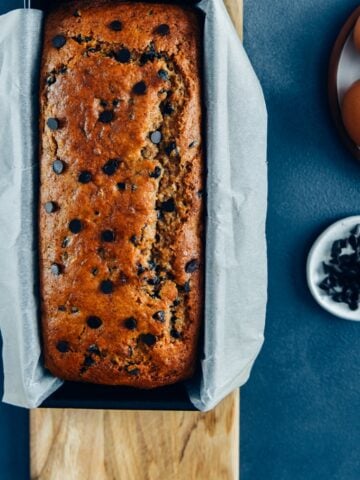
Almond Milk Banana Bread
-
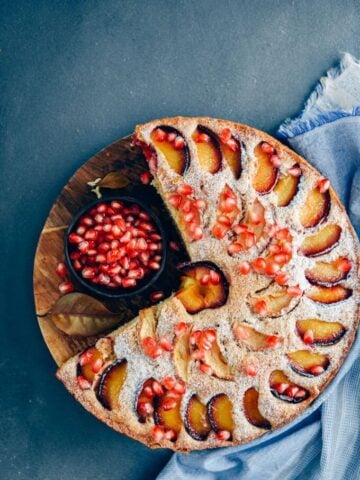
Apple Plum Cake
-
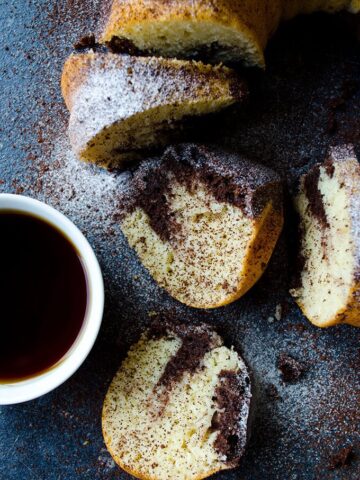
Marble Yogurt Bundt Cake
-
Buttermilk Chocolate Muffins
-
Zucchini Apple Cinnamon Muffins
-
Healthy Chocolate Zucchini Muffins
-
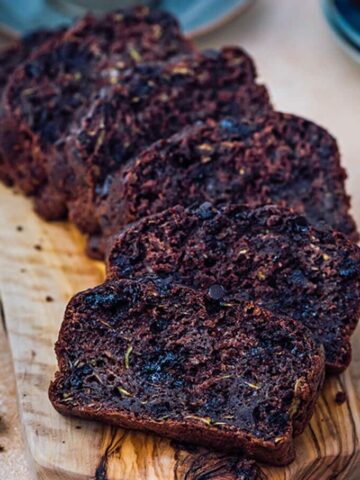
Yogurt Chocolate Zucchini Bread [Video]
-
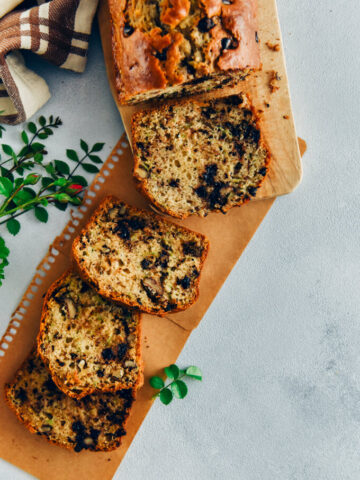
Moist Chocolate Chip Zucchini Bread
-
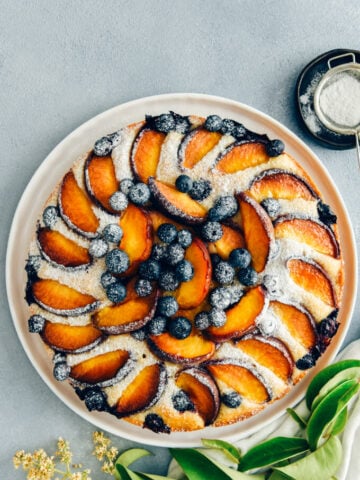
Blueberry Peach Coffee Cake
-
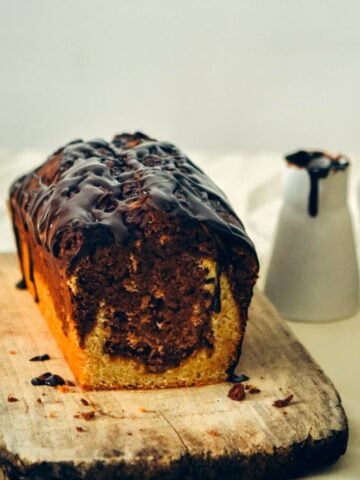
Marbled Chocolate Banana Bread
-
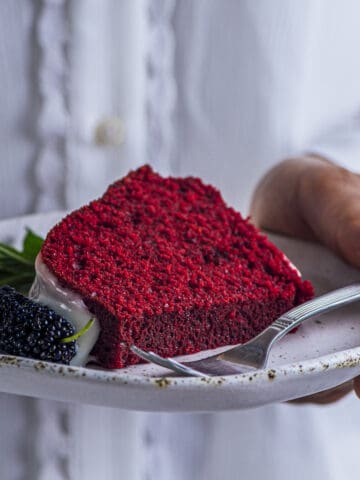
Red Velvet Bundt Cake
-
Kefir Lemon Bread
-
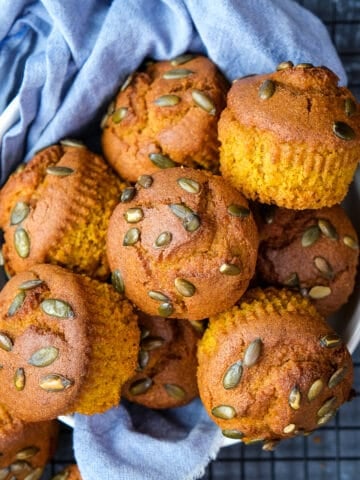
Cornmeal Pumpkin Muffins
-
Apple Cinnamon Bread
-
Super Moist Red Velvet Cupcakes
-
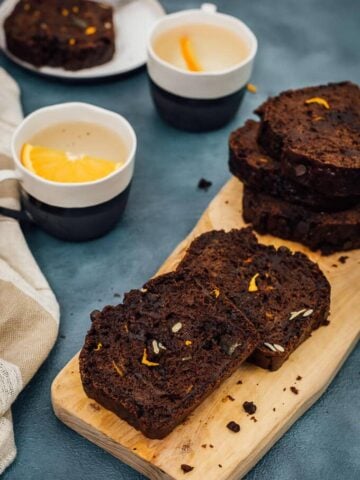
Orange Chocolate Pumpkin Bread
-
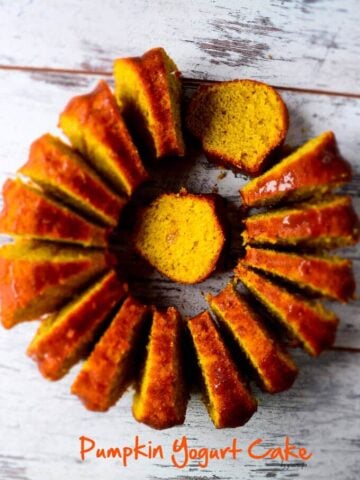
Pumpkin Bundt Cake
-
Greek Yogurt Strawberry Cupcakes
-
Eggless Chocolate Coffee Cupcakes
-
Chocolate Beet Muffins
-
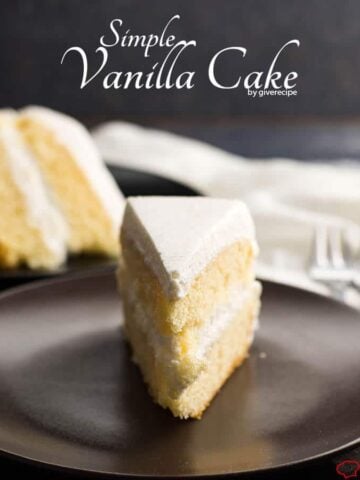
Simple Vanilla Cake
-
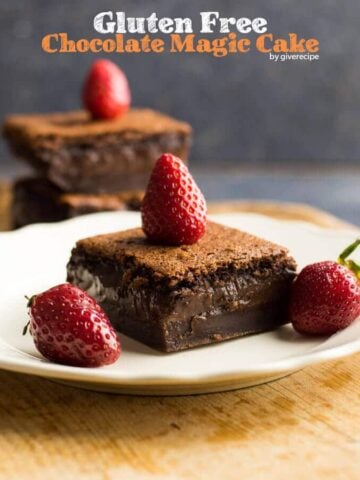
Gluten-Free Chocolate Magic Custard Cake
-
Old Fashioned Red Velvet Cake
-
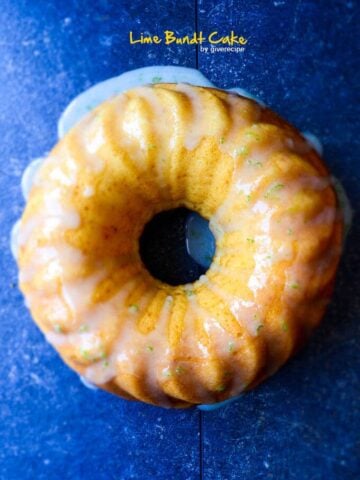
Lime Bundt Cake
-
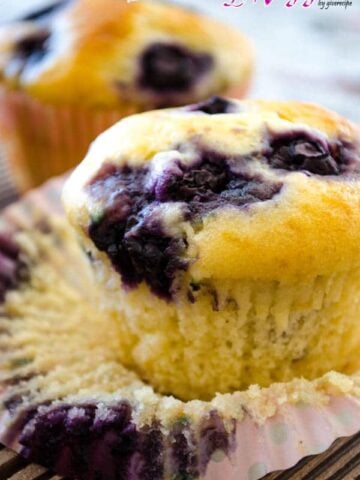
Easy Blueberry Muffins
-
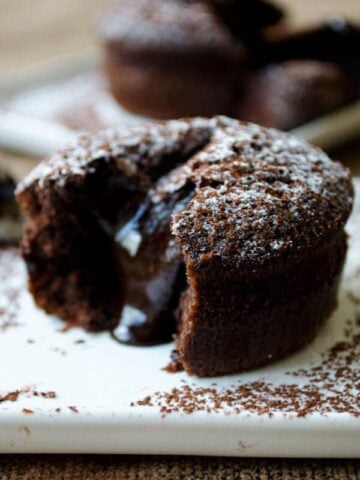
Molten Chocolate Lava Cake
-
Triple Chocolate Muffins
-
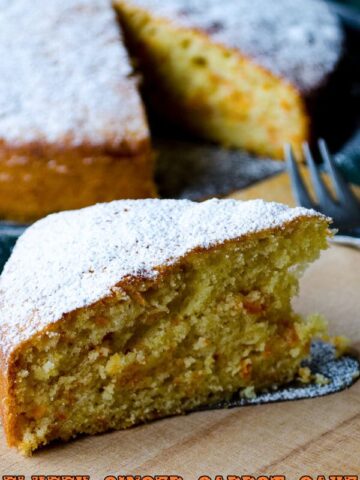
Fluffy Ginger Carrot Cake
-
Zesty Lemon Carrot Cake